Saturday, January 28, 2012

Expensive yarn.. on a budget!

Here is a great way you can get some nice yarn without breaking the bank.  I have heard it called "frogging a sweater", but very simply it is just recycling.  I love 100% wool or cotton, but I hate paying a arm and a leg for it.

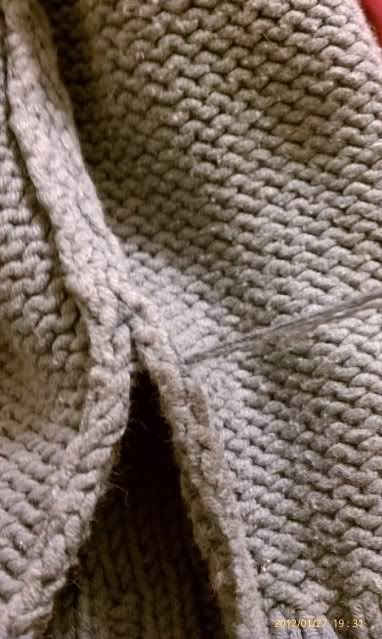
First thing you do is go to your local thrift store (or possibly your own closet) and find a nice soft knit wool or cotton sweater (whatever type of material you want or like), just start reading the labels, you will find some.  I would start with a sweater that is a solid color, this is the easiest to "recycle".  Now that you have found the perfect "yarn" and BEFORE YOU LEAVE THE STORE, check the seams.  If the seams are surged together put it back, surging cuts the yarn at both ends of the row so when you pull it you will just end up with a bunch of yarn pieces.  You will want one that is seamed together with one long thread and when you get it started you can pull it out in one long thread, like opening a bag of dog food.


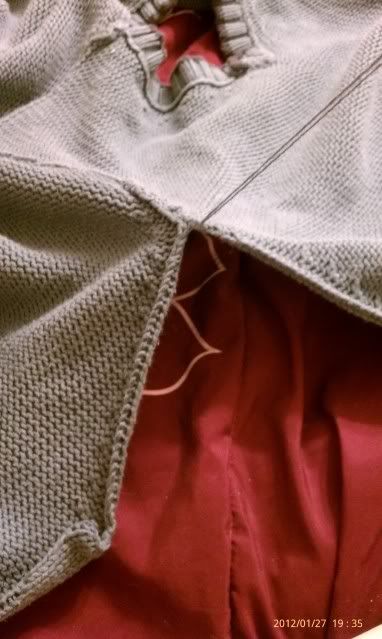
Here is a picture of the type of seam you want  (I already started pulling this seam out, see how it is coming out in one strand)...


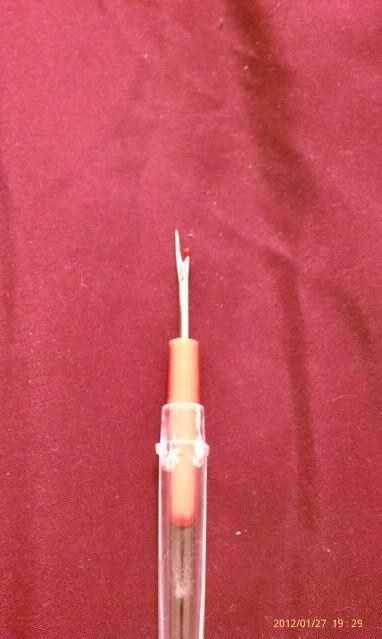
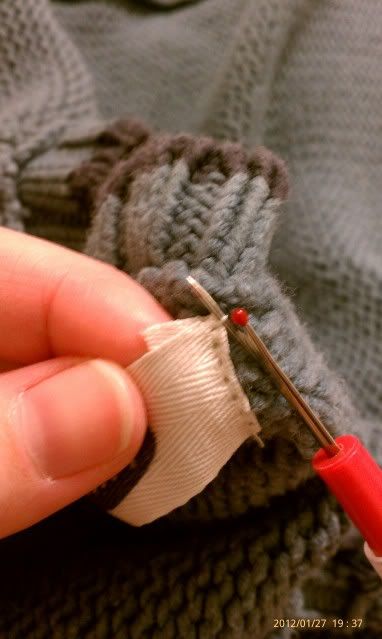
Now you will want to get a small pair of scissors or a seam ripper, this is what I use..


Next you need to figure out which end to start pulling the seam thread to unravel the seam.  Usually the best place to start is on the sleeve cuff and that will unravel all the way up the sleeve and down the side in one long pull..


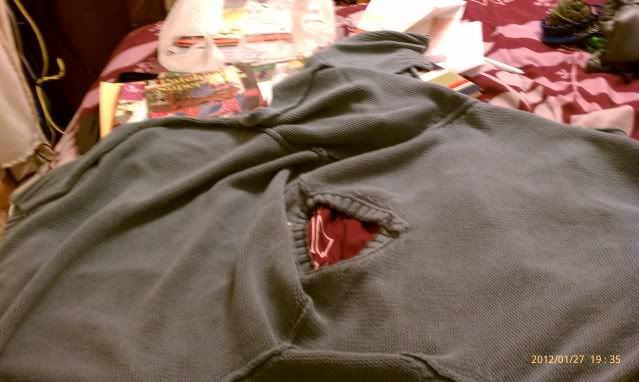
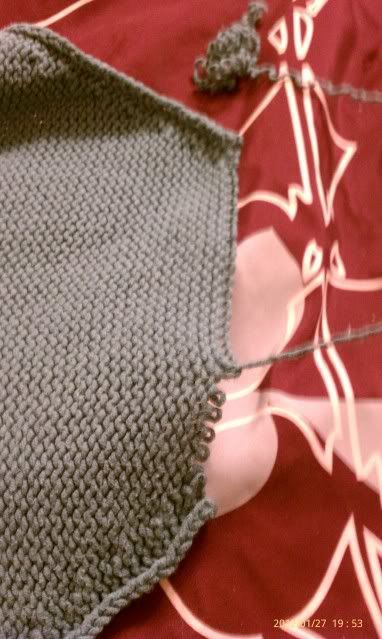
Pull the other side seam and you should be able to open up the sweater...


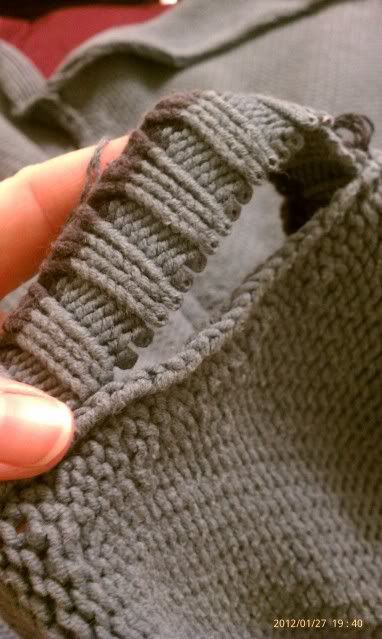
Next is usually the collar, just find the string that is holding the seam together and start snipping and pulling, finding the start or end of the collar seam can be impossible, so just start where ever you can (remember not all sweaters are put together the same way, so take a good look at the construction of the sweater.  Sometimes you will start to pull a seam and get to a point where you will realize you need to pull another seam before you can finish that seam...)


Oh yea, don't forget to carefully take off the tag...
this is something you may want to keep so you know how to care for your "new" yarn


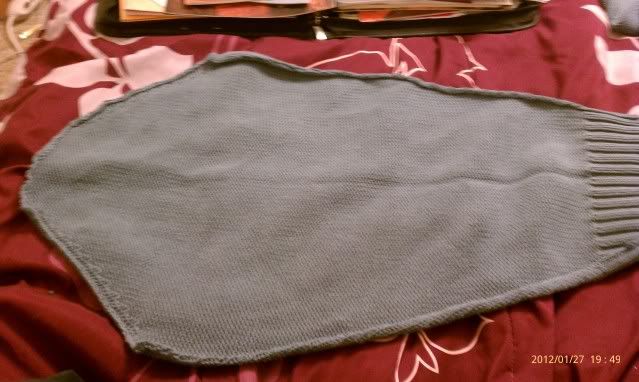
Now for the shoulder seams and soon you should have all the pieces of the sweater apart, front, back, 2 arms, and possible a collar... (here is the sleeve )


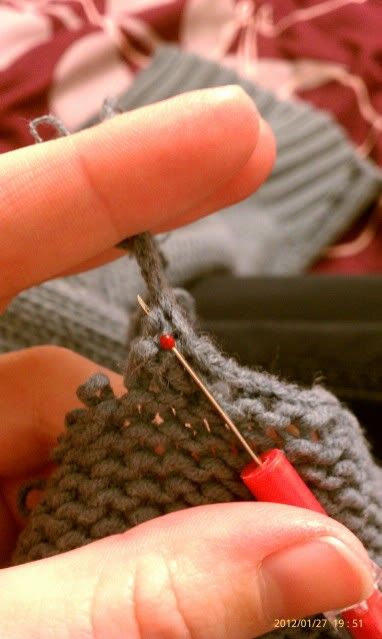
Now it is time to start pulling and winding you "new" yarn.  If you have ever made a mistake while knitting then you already have experience at this.  You will want to start at the top, find the end, and start pulling.  Sometimes you have to carefully snip off the bind-off row to get things going.


Once you find the end start pulling and winding (a ball winder would be a nice thing to have.... unfortunately I don't have one so I pull a little, then wind a little, then pull a little, then wind a little..... Or I will have the kids hold and I will pull and wind at the same time.)


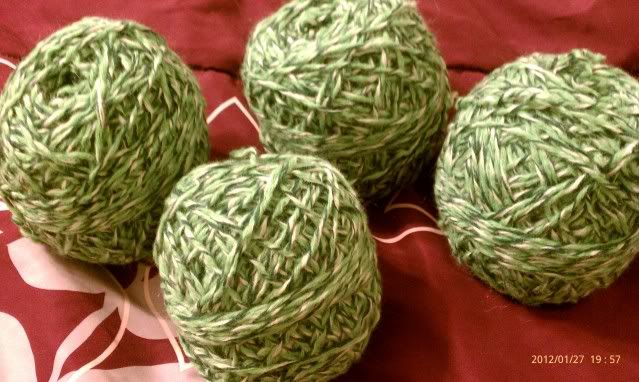
And when you are done you will have 4 or 5 big balls of yarn (ok, obviously not from the same sweater, but I think you get the point.... and this picture is not all the yarn that came from one sweater, it is missing 2 big balls of yarn that I used to make a little stuffed froggy for the kids, that they lost!)


If you are worried about how kinky the yard comes out, don't worry.  The yarn will either relax on it's own or you can soak it for a while in the bath tub and hang to dry, or just do what I do and say heck with it and knit with it,  usually can't tell it is kinky,  especially after I have blocked or washed my new item once.

So in the end I pay about $4 for about 4-5 balls of nice soft yarn instead of $4+ for one skein of cheap acrylic yarn.
Friday, January 27, 2012

Hats, Hats, and more Hats!!!

I have gotten into a hat making addiction.  Crochet beanie hats are a quick and easy thing to make.  And there are many patterns all over the web.  My favorite place to find patterns are crochetpatterncentral.com, knittingpatterncentral.com, and Raverly.com...

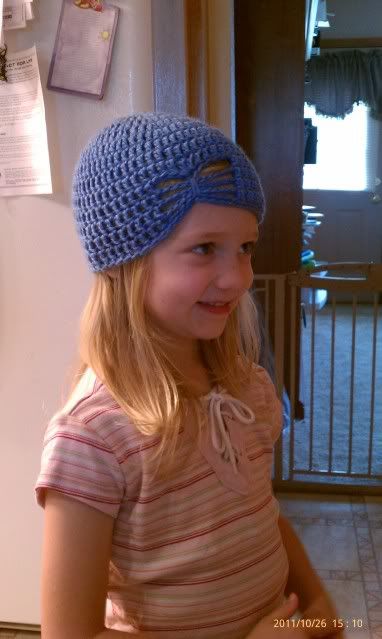
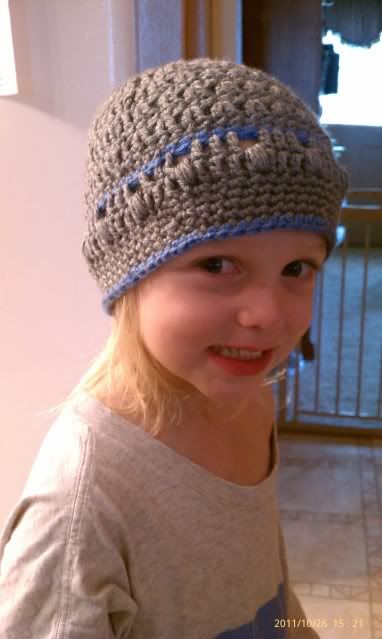
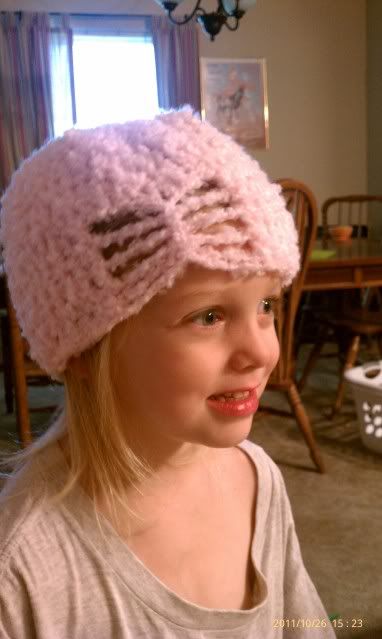
Here are a few I have made.

Brianna's Butterfly hat


This one was made for Andrew, but Dani loves it


And this is Izzy;s butterfly hat, but Izzy woudn't pose for me in it so Dani did.

Professionally finishing your chrochet project.

Here is a quick tutorial to show you how to give your crochet projects a professional look.

I tried to take pictures of each step to help with the explanation.  I usually use this finishing technique when I am working in the round, it makes your last stitch invisible.


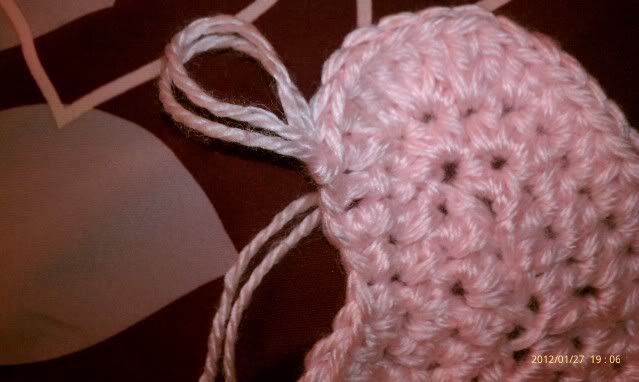
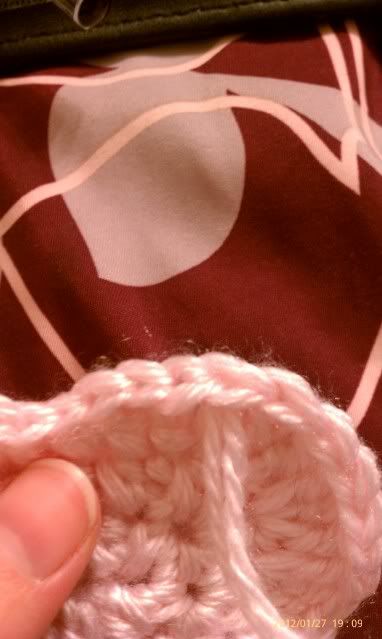
First when you get to the end of your last round don't finish your stitch, most people pull this last loop all the way though (like in the picture), don't do this....


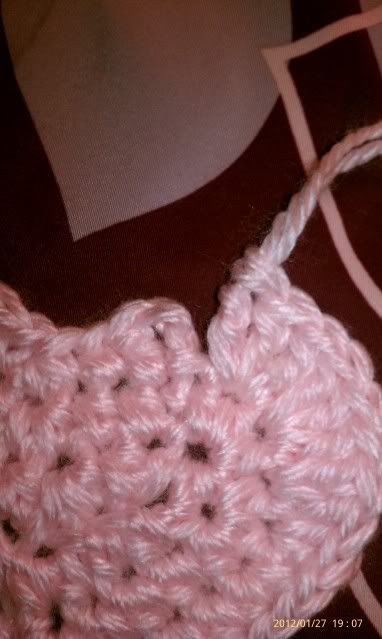
Instead pull it back one loop before pulling the yarn though.  It should look like this (ended on a double crochet and did not follow the "join round with a sl st" on the final round) ....


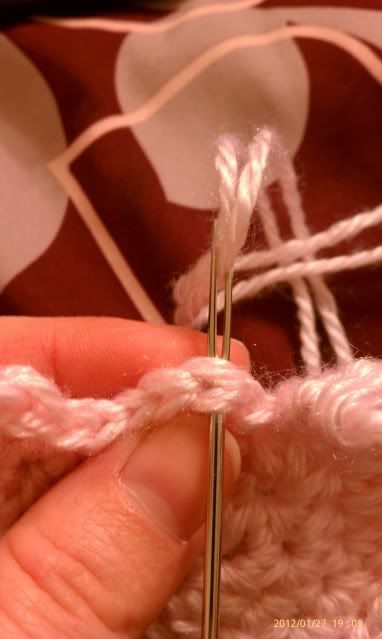
Now thread your needle and put it through the stitch where you were going to join your final round....


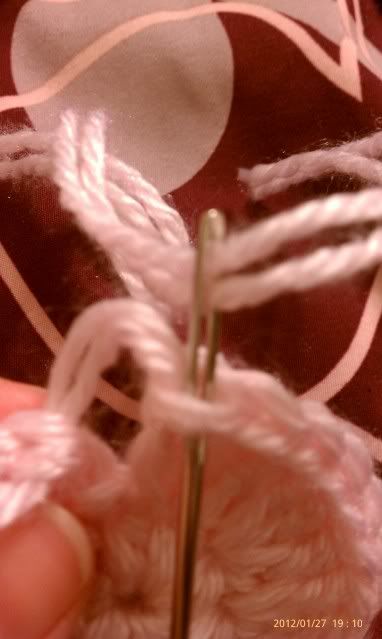
Next you will put your needle down through the stitch where you pulled the yarn though......


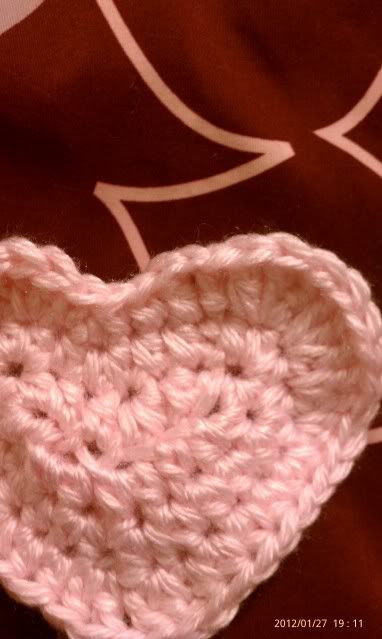
Pull yarn though, not too tight, just pull until it looks similar to the other stitches around it.  It should look like a crochet stitch.


Weave in the ends and no one will ever know where the end is....


I hope you found this tutorial helpful, now you can have a nice smooth professional finish to your crochet items.

Happy crocheting!!!!

(if you found this tutorial helpful and would like to share, please link back to me, thank you!)

Thursday, January 26, 2012

Be My Valetine Scarf

I have decided to start publishing some of the patterns I have created over the years.  Because Valentines day is soon to arrive I decided I would start with this quick scarf pattern.  I designed, wrote, and completed this in a few hours so it should crochet up quickly. Once you have the first heart or 2 down this is the type of pattern I call a "curl up in your chair in front of the TV with a hook and yarn" type of pattern.


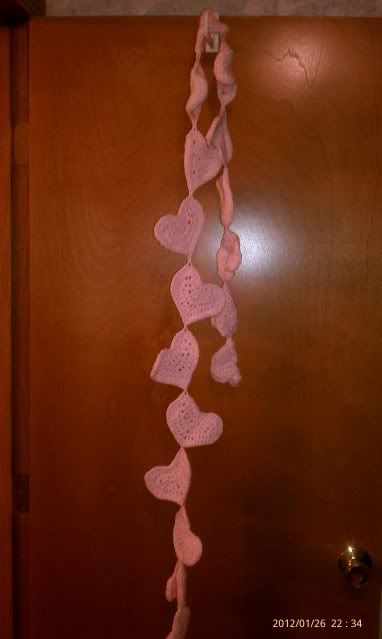
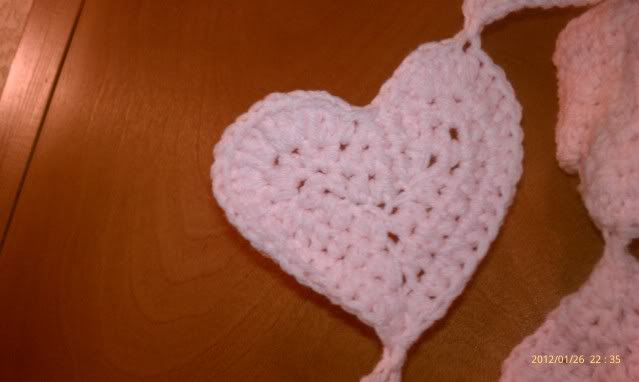
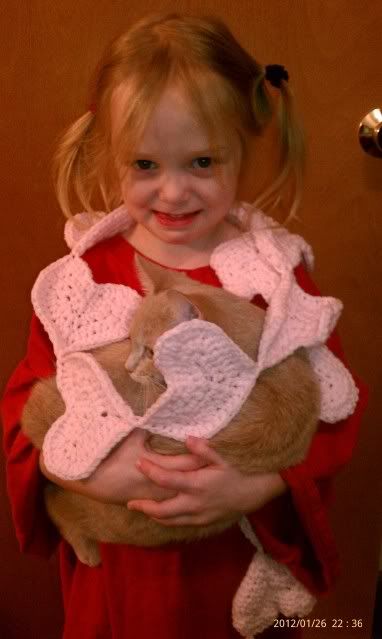
Be My Valentine Scarf


I used 2 skeins of Red Heart worsted weight yarn, Not sure what the exact color was, it is a light pink,  I have had this yarn in my massive yarn stash for a while and the tag was no longer with the skeins of yarn.

This scarf was crocheted using double strand of yarn (holding 2 stands of yarn together and crocheting as if they were one). I found the hearts held their shape better with the heavier weight of 2 strands, but still works up nicely using lighter or heavier yarn, you would just need to adjust the hook size according to the yarn weight.

I used a crochet hook K

(please keep in mine this is the first time I have wrote out a pattern for others to use, if you find any errors please let me know) 

Round one is the hardest round because you must crochet across the top then bottom of the foundation chain, once you get that the rest of the pattern is a breeze. And don't get worried at first, it doesn't really start looking like a heart until the 3rd round. The scarf is crochet in a series of separate hearts that will joined on the last round.

Start with ch 6

Round 1: hdc in second ch from hook, hdc in next st, hdc next 2 sts tog, hdc in next st, 4 hdc in next st (this should put you at the end of the ch, do not turn your work, you will now continue to work across the bottom of the ch) 1 hdc in next st (remember this will be on the bottom of the foundation ch), 2 hdc in next st, ch 1, 2 hdc in next st, 1 hdc in next st, 3hdc in last st, join with a slip st with first hdc.

Round 2: ch 1, 1 hdc in same st as join, hdc in next st, hdc next 2 sts tog, hdc in next st, 2 hdc in next st, 3 hdc in next st, 3 hdc in next st, 1 hdc in next 2 sts, 2hdc in next st, ch1, 2hdc in next st, 1 hdc in next 2 sts, 3 hdc in next st, 3 hdc in next st, join with a slip st.

Round 3 of first heart only: ch 2, 1 dc in join st, sc in next st,  sc next 2 sts tog, sc in next st, 2 dc in next st, 3 dc in next st, 3 dc in next st,  2 dc in next st, 2 hdc in next st, 2 hdc in next st,  1 hdc in next 4 sts, 2 dc in next st, ch 1, 2 dc in next st, 1 hdc in next 4 sts, 2 hdc in next st, 2 hdc in next st, 2 dc in next st, 3 dc in next st, 3 dc in next st, join, cut yarn and weave in ends (will show you how to do a professional final st in a later post).

Round 3 of all the rest of the hearts: ch 2, 1 dc in join st, sc in next st, sc next 2 sts tog, sc in next st, 2 dc in next st, 3 dc in next st, 3 dc in next st, 2 dc in next st, 2 hdc in next st, 2 hdc in next st, 1 hdc in next 4 sts, 2 dc in next st, join your heart to the previous one with a sc, 2 dc, 1 hdc in next 4 sts, 2 hdc in next st, 2 hdc in next st, 2 dc in next st, 3 dc in next st, 3 dc in next st, join, cut yarn and weave in ends (will show you how to do a professional final st in a later post).

*to join hearts with a sc, you simply insert your hook through a stitch where you want the heart to join, pull up a st, then finish the sc.  you can join the hearts in any pattern you like, the one pictured I simply alternated the join on on the top 2 sides of the heart.  This is where you can be creative and add your own touch, you can attach each one in the same place or rotate them around a little.

I continued to make hearts until I ran out of yarn, my finished scarf was about 6 feet long.  This is the length that my teenage daughters love.

NOTE: Upon typing and re-reading this pattern I feel like I may have missed 2 sts on the first round, If you are having problems try this, after the 4 hdc in round one: 1 hdc in next 2 sts (remember this will be on the bottom of the foundation ch), 2 hdc in next st, ch 1, 2 hdc in next st, 1 hdc in next 2 sts... then continue on.

EDIT: I found the problem, I just knew something didn't sound right when I was typing it up.  The problem should be corrected now (in red).  Thank you for your patience.

Dani and her kitty Peaches modeling the scarf.


(This pattern may be used to make items for personal use only, you can not sell items made from this pattern or the pattern itself. If you have made items and would like to share, please link back to me, Thank You!)